

Are you new to website development? If so, you might be searching for an easy and powerful tool to create and manage your website. Look no further than WordPress! With over 40% of the web using WordPress, it has become the go-to platform for individuals, businesses, and even large organizations. In this guide, we will walk you through the process of using WordPress to create and manage your website, without the need for any coding experience. So, let’s dive in and explore the world of WordPress!
Why Choose WordPress?
Before we delve into the nitty-gritty of using WordPress, let’s take a moment to understand why it is the ideal choice for website creation and management. Here are a few compelling reasons to choose WordPress:
Ease of Use: To begin with, WordPress offers an intuitive and user-friendly interface, making it accessible for beginners. You don’t need to be a tech wizard or have coding knowledge to get started.
Flexibility: Furthermore, WordPress provides an extensive range of themes and plugins, giving you the ability to customize your website to suit your specific needs. Whether you’re creating a blog, an online store, or a business website, WordPress has got you covered.
SEO-Friendly: Moreover, WordPress is designed with search engine optimization (SEO) in mind. It provides various tools and plugins that help you optimize your website’s visibility on search engines, increasing your chances of being found by potential visitors.
Now that we understand why WordPress is a fantastic choice, let’s move on to the practical steps of using it.

Step 1: Getting Started with WordPress
To begin your journey with WordPress, you’ll need to set up your own WordPress website. Let’s go through the essential steps:
Choose a Hosting Provider: First and foremost, select a reliable hosting provider that offers WordPress installation. Some popular options include Bluehost, SiteGround, and WP Engine.
Register a Domain: Next, choose a unique and memorable domain name for your website. Aim for a name that reflects your brand or the purpose of your website.
Install WordPress: Most hosting providers offer a one-click WordPress installation process. Follow the instructions provided by your hosting provider to install WordPress on your domain.
Once WordPress is installed, you’ll gain access to the WordPress dashboard, where you can customize and manage your website.

Step 2: Navigating the WordPress Dashboard
Upon logging in to your WordPress dashboard, you’ll find a wide range of features and settings to explore. Let’s take a look at some key elements:
Themes: First and foremost, explore the “Themes” section in your WordPress dashboard to discover various design options for your website. You can choose from a plethora of free and premium themes and customize them to align with your brand identity.
Plugins: Additionally, plugins are powerful tools that extend the functionality of your WordPress website. From adding a contact form to improving site speed and integrating social media, plugins have got you covered. Some popular plugins include Yoast SEO, WooCommerce, and Jetpack.
Posts and Pages: Moreover, WordPress allows you to create two types of content: posts and pages. Posts are generally used for blog entries, while pages are ideal for static content like an “About Us” or “Contact” page. You can easily create, edit, and organize your content using the built-in editor.

Step 3: Customizing Your Website
Choosing a Theme
Aesthetics play a vital role in website design, making the selection of an appealing theme crucial. At WalkerWP, we provide a wide range of beautiful themes that incorporate the latest features. Feel free to explore our collection to find the perfect fit for your website. Here’s how to choose and customize a theme:
Browse and Install: Firstly, head over to the “Appearance” section in your WordPress dashboard and click on “Themes.” Take some time to browse the available themes (or you can choose from WalkerWP), preview them, and choose one that suits your website’s style and purpose. Once you’ve made your decision, install and activate the chosen theme.
Customization: Secondly, most themes come with customization options. Navigate to the “Customize” section in your dashboard to modify the site title, logo, color scheme, and other visual elements. Feel free to experiment with different settings until you achieve the desired look.

Installing and Activating Plugins
To enhance the functionality of your website, installing and activating plugins is essential. Here’s how to do it:
Plugin Installation: Firstly, in your WordPress dashboard, click on “Plugins” and then “Add New.” Search for the desired plugin either by name or functionality. Once you find the plugin, click “Install Now” and then “Activate.”
Configuring Plugins: Secondly, after activating a plugin, you may need to perform additional setup steps. Follow the plugin’s instructions to configure it according to your preferences. For instance, if you installed the Yoast SEO plugin, you would need to enter your website’s metadata and configure SEO settings.
Step 4: Creating and Managing Content
Creating and managing content on your WordPress website is a breeze. Here’s how to get started:
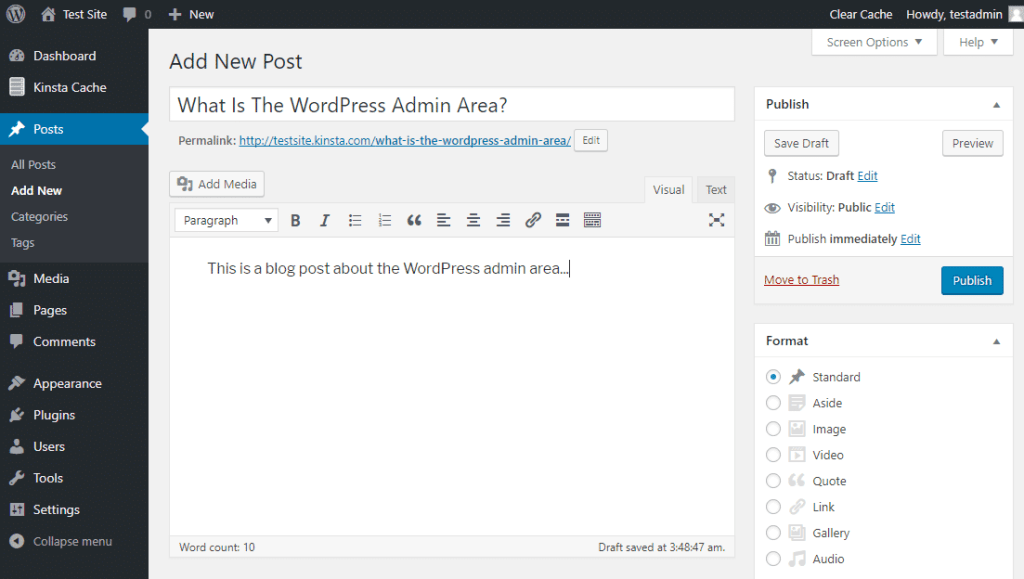
Creating a Post: To begin writing a blog post, go to the dashboard, click on “Posts,” and then select “Add New.” Enter a title for your post and start writing your content using the editor. You can format text, add images, and embed media to enhance your posts.
Publishing Options: WordPress provides options to save your post as a draft, schedule it for future publishing, or publish it immediately. You can also categorize your posts and assign tags to improve organization and user experience.
Creating Pages: For creating static content, such as an “About Us” or “Contact” page, navigate to “Pages” and click on “Add New.” The process is similar to creating a post, but pages serve a different purpose.
Step 5: Optimizing Your WordPress Website
Boosting your website’s search engine visibility is crucial for attracting visitors. WordPress offers various plugins to help you optimize your website for search engines. One popular choice is the Yoast SEO plugin. Here’s how it can assist you:
Keyword Optimization: Yoast SEO analyzes your content and suggests improvements to optimize it for specific keywords. It provides real-time feedback on factors like keyword usage, readability, and meta tags.
XML Sitemaps: The plugin generates XML sitemaps, which help search engines navigate and index your website more efficiently.
Social Media Integration: Yoast SEO allows you to customize how your website appears when shared on social media platforms. You can set custom titles, descriptions, and images for increased visibility.

Step 6: Regular Maintenance and Updates
To keep your WordPress website secure and running smoothly, regular maintenance is essential. Here are a few tasks you should prioritize:
Keeping Up to Date: Keep your WordPress installation, themes, and plugins up to date to benefit from the latest features and security patches.
Backing Up Your Website: Regularly back up your website’s files and database to ensure that you can restore it if anything goes wrong.
Monitoring Performance: Utilize tools like Google Analytics and Google Search Console to track your website’s performance and identify areas for improvement.

Conclusion
Congratulations! You have now learned the fundamentals of using WordPress to create and manage your website. Remember to choose a reliable hosting provider, customize your website with themes and plugins, create compelling content, and optimize your site for search engines. By regularly maintaining and updating your website, you can ensure its longevity and success.
Now, go forth and unleash your creativity!
Thanks for the post